I’m a do-it-yourself kind of person, and I totally identify with those of you who want to do DIY digital marketing , or stick to a marketing budget that may require you to invest time vs money. So where do you put the time and where do you spend the money?...
Every web client is different. Some will want control of their site and some will happily pay for changes or maintenance. Which are you? While WordPress is pretty darn user friendly, take heed: not every web design in WordPress will leave you in total control. Just...
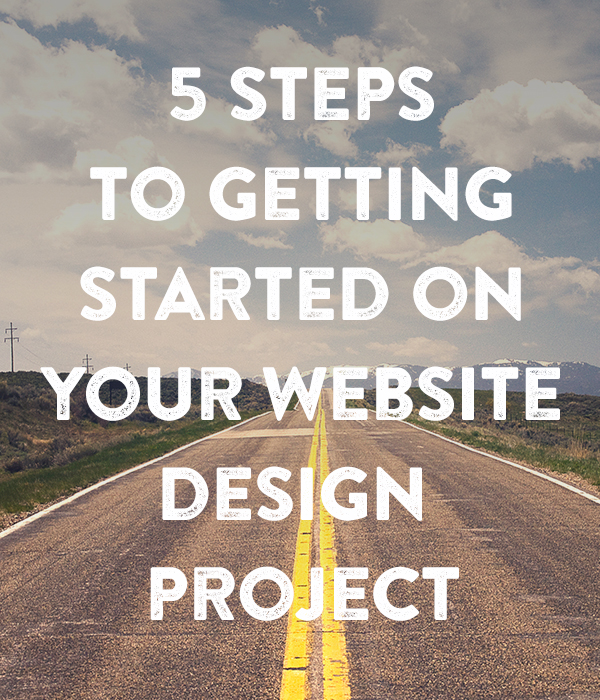
Here’s the scenario. You starting a small business and realize you really need to get a website. Or, you run a small business and realize your website is really dated. You have little to no knowledge of how this whole website and Internet thing works. Your...